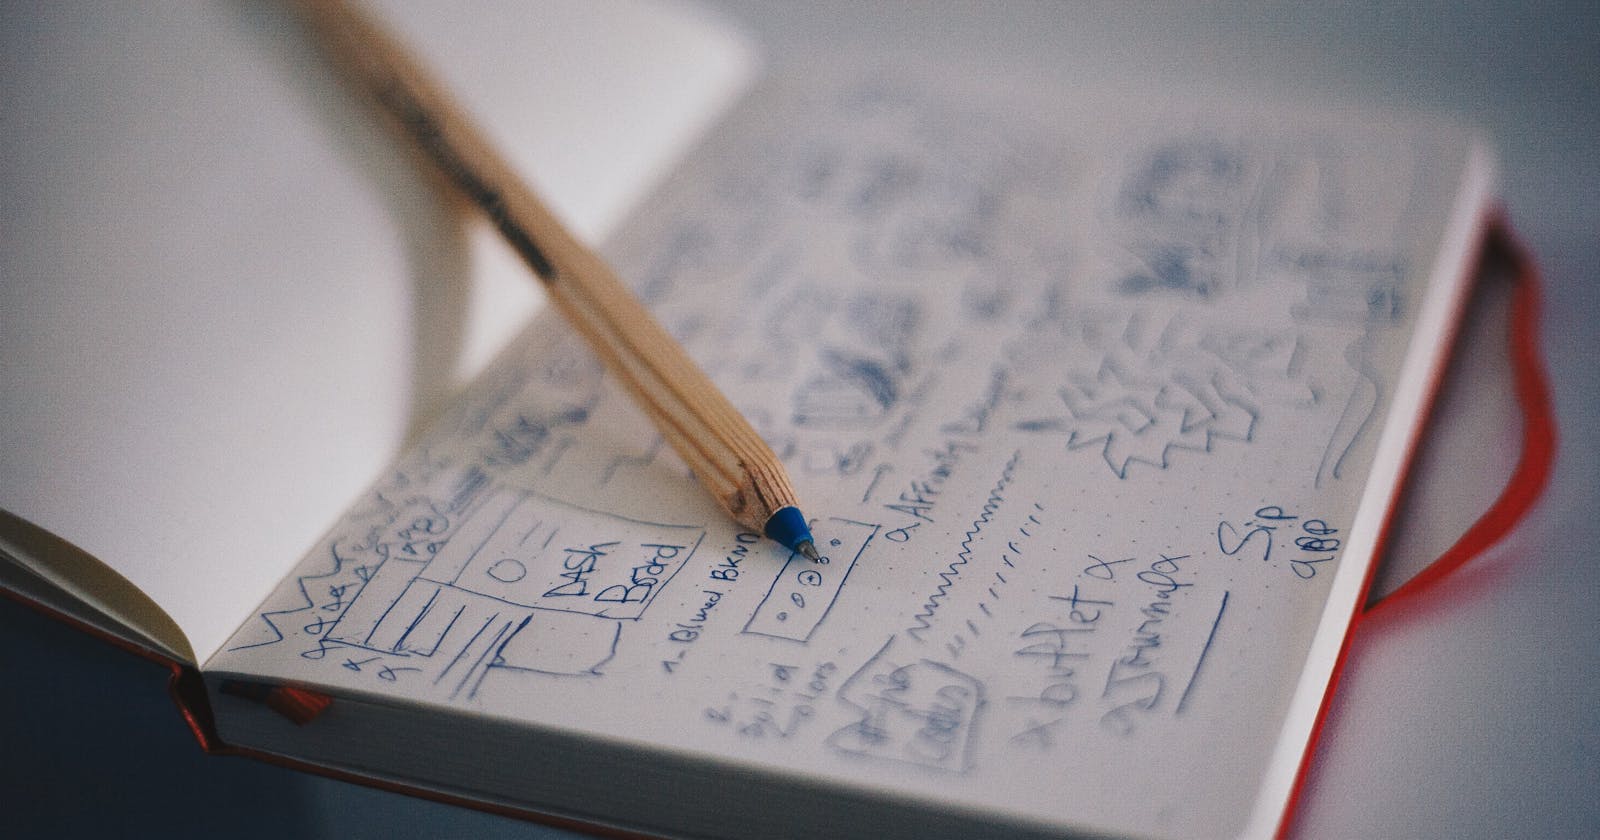
“Have no fear of perfection — you’ll never reach it.” — Salvador Dali
 on [Unsplash](https://unsplash.com?utm_source=medium&utm_medium=referral)](https://cdn-images-1.medium.com/max/8736/0*QIxUqotAEy4J7XEy)
Story
At this time, I would like to start telling you about the project that I have for my fall semester this year at Utah Valley University. The project started two months ago where I needed to choose a project from something that I like to make sure I will be able to tell a story and to make sure that I will be able to present a good idea with a good message.
Idea & Challenge
 on [Unsplash](https://unsplash.com?utm_source=medium&utm_medium=referral)](https://cdn-images-1.medium.com/max/12000/0*ayNn7VMNDS1l4T0y)
For this reason, I decided to talk about a Mexican State, 1 City & 1 little town. The reason I choose this subject as my main project was because I always feel that this country has strong beliefs from the country where I am from, and I would like to present more ideas of what Mexico means, and how beautiful is this country. However, I selected three different places to be able to create a projection of how people can start traveling to those places.
The biggest challenge or the biggest problem here was how to start drawing this idea, and how to give a really good message as much as the tools that I need to use to start creating things.
Another challenge that I came across is getting more ideas and more time to start looking into different websites to see if someone else already working on this idea to learn more about the concept that I had on mind.
 on [Unsplash](https://unsplash.com?utm_source=medium&utm_medium=referral)](https://cdn-images-1.medium.com/max/15284/0*FmpBWd-hqzMZmed_)
Objectives
Rethinking Digital Media — Ideas to transform a belief
Mi Tierra requires a complete overhaul of its Digital Media Content strategy, including:
Implementing good quality content about Mexico
Building a series of Good Quality Images
Building a series of Good Quality Video
Delivering good quality content through Indesign & Mag+
Producing content for iOS devices (iPad-Pro)
Using a diversity of tools to be able to define a better quality overall
Implementing good quality content about Mexico:
I will need to make sure that I will choose the right places to my audience to make sure, I will share the reality of this place. These places are:
Jalisco:
Jalisco is one of the 31 states which, with Mexico City, comprise the 32 Federal Entities of Mexico. It is located in Western Mexico and is bordered by six states which are Nayarit, Zacatecas, Aguascalientes, Guanajuato, Michoacán, and Colima. Jalisco is divided into 125 municipalities, and its capital city is Guadalajara.
 on [Unsplash](https://unsplash.com?utm_source=medium&utm_medium=referral)](https://cdn-images-1.medium.com/max/16384/0*Q_z7Ow_gpPgiCZE_)
Tequila:
Tequila is best known as being the birthplace of the drink that bears its name, “tequila,” which is made from the blue agave plant, native to this area. The heart of the plant contains sugars and had been used by native peoples here to make a fermented drink. After the Spanish arrived, they took this fermented beverage and distilled it, producing the tequila known today.
 on [Unsplash](https://unsplash.com?utm_source=medium&utm_medium=referral)](https://cdn-images-1.medium.com/max/10944/0*1HejfEDPajBoy9Aa)
Guadalajara:
Guadalajara is the capital and largest city of the Mexican state of Jalisco, and the seat of the municipality of Guadalajara. The city is in the central region of Jalisco in the Western-Pacific area of Mexico. With a population of 1,460,148 inhabitants, it is Mexico’s second most populous municipality.
 on [Unsplash](https://unsplash.com?utm_source=medium&utm_medium=referral)](https://cdn-images-1.medium.com/max/11974/0*vRDycaA48ZzLxOeK)
Building a series of Good Quality Images:
Photos cover your construction or architecture business that will help to produce more as a business or as an entity to create more impact on your business. Also, this type of photos will help you to create attention to the public.
To produce good quality images, you will need to do the following:
Sharpness
Light and Exposure
Composition
Primary Post-Production
Colors
Resizing
Sharpening
In a little bit more, I will explain to you the type of tools that I used to show these 7 steps.
Building a series of Good Quality Video:
Good Story
Length
Composition
Perspective
Colors & Exposure
Delivering good quality content through Indesign & Mag+:
If you know what tools, you will start using, you will need to take into consideration the tricks and tips online to make sure you will not have any problems at all by using these tools.
Producing content for iOS devices (iPad-Pro)
Since my project is to show my design with an iPad-Pro, I decided to learn more about the quality content that I can produce for this type of device. Every device will render your images and videos different.
Using a diversity of tools to be able to define a better quality overall
I needed to understand the pros and cons of working with individual tools since I needed to create multiple pieces of content. For the same reason, I decided to learn more about a diversity of pieces of software that can help me to produce the content that I wanted.
Solution
The solution to these projects started like this:
 on [Unsplash](https://unsplash.com?utm_source=medium&utm_medium=referral)](https://cdn-images-1.medium.com/max/6912/0*7IjlvPyVD7B-tKvd)
Idea:
I started to brainstorm all possible input that I can insert inside of my project, I started thinking about the end-user “What type of content do they want to see?.”
I created the pros and cons of “What people like from Mexico.” I created a draft with the most minimal ideas that I have on my head.
I listed all possible states and cities that I could mention in my design. What type of message, I would like to deliver to my user, what type of colors, I would like to use.
What is the easiest way to start designing this idea, and what tools to use.
At this point, you will notice that my head starts wondering about problem-solving. For me, this is a good way to start since I can have the most minimal idea of what I want, and then I can start producing more ideas on how to do it better.
 on [Unsplash](https://unsplash.com?utm_source=medium&utm_medium=referral)](https://cdn-images-1.medium.com/max/8480/0*TbNMtwOqiP-plQM9)
As soon, I will start brainstorming, I will start thinking in all the design concepts that will help me to build better quality design and better quality content.
Images:
 on [Unsplash](https://unsplash.com?utm_source=medium&utm_medium=referral)](https://cdn-images-1.medium.com/max/10368/0*LMUk5R83RzVFoixT)
For me, one of the best things to do inside of a project is compelling stories with images that will talk about the project that I’m building since these types of images will create a huge impact on our audience.
Process:
The process was a little bit complicated to understand since I will need to know the type of images that I can run inside of iOS Devices, and what type of file size, I will need to use to make sure the image will have good quality over the mobile device that I will use.
In other words, I started to look into images here **Unsplash** since these images have a good quality, & they have the pictures that I needed. However, some of these images were too big from what I needed. For the same reason, I decided to use a tool called Compress JPEG (https://compressjpeg.com/).
The problem with this tool, I was unable to get the file size that I wanted. Then, I choose to select a different tool called “Adobe — Photoshop.” This tool helped to build all type of images, I was able to edit this type of content, and I was able to get a different type of images.
At this time, you will need to keep in mind that all types of images quality, sizes, colors, and different images extension are meant to serve different purposes like images for mobile devices, desktop, and laptops. Also, you will need to consider that these images can be used in social media and that every social media platform will have its own way to get, produce and publish different quality of images.
If you would like to learn more about this, you will need to go here: https://makeawebsitehub.com/social-media-image-sizes-cheat-sheet/
Videos & Process:
 on [Unsplash](https://unsplash.com?utm_source=medium&utm_medium=referral)](https://cdn-images-1.medium.com/max/10796/0*uwiFeW8T5FcT_fBI)
The process that I did with videos was a little bit different since I didn’t produce any of the content of the video. However, I downloaded some tools like Chrome Extensions to be able to download content for the web.
This tool is called “**One-Click Video Downloader**.” On this occasion, this tool helped me to get some video content from Vimeo. Then, I edited some of these videos inside of Adobe After Effects to create some Effects over the videos to make sure all of this content will look great.
 on [Unsplash](https://unsplash.com?utm_source=medium&utm_medium=referral)](https://cdn-images-1.medium.com/max/11472/0*DELCw1vLs0HbEVOC)
Also, I would like to say that the content that you have as a video is not too important sometimes since 10 out of 15 people will rather read or getting into the next page of your project.
If you would like to learn about the video process that I did, you will need to see the following project that I created on **Adobe-XD**. Also, you can see the adobe after effects projects here: https://www.youtube.com/watch?v=xSInlZXYZNw&t=11s.
Problems with tools:
 on [Unsplash](https://unsplash.com?utm_source=medium&utm_medium=referral)](https://cdn-images-1.medium.com/max/9004/0*5Tyqh89RjlAbI_5M)
At this point, I would like to let you know that Indesign was my main tool to use for the entire project. However, my skills are not good enough which means that I struggled this semester to be able to produce good quality content since this tool is a little bit complicated because of all of the settings that you need to click to get one piece done or to getting 1 function from InDesign to work.
In fewer words, I would like to say that InDesign for me is not the most wonderful tool to use since everything will start looking a little bit crazy. The animations and the content itself will never look the same as my Adobe XD end-file.
What I like to say with this is that if you would like to work with InDesign, you will need to make sure that you know how to use some extra tools to make sure, you will be able to compile a good quality project.
On the other hand, I wOn the other hand, I would like to say that Mag+ is such a fantastic tool since you can design an app without using any Code (HTML, CSS, Javascript). In this case, I would like to let you know that you will save a lot of time building an application like this.
Recap:
The best tools to use to build this type of projects are:
Mag+
InDesign
Adobe Photoshop
Adobe After Effects
Adobe XD
Compress JPEG
Unsplash
Vimeo
ETC.
Results:
In my results, I would like to say that I was able to choose the right images, videos, and tools to make this project possible where I would like to walk you through my design step by step to make sure, you will understand my process.
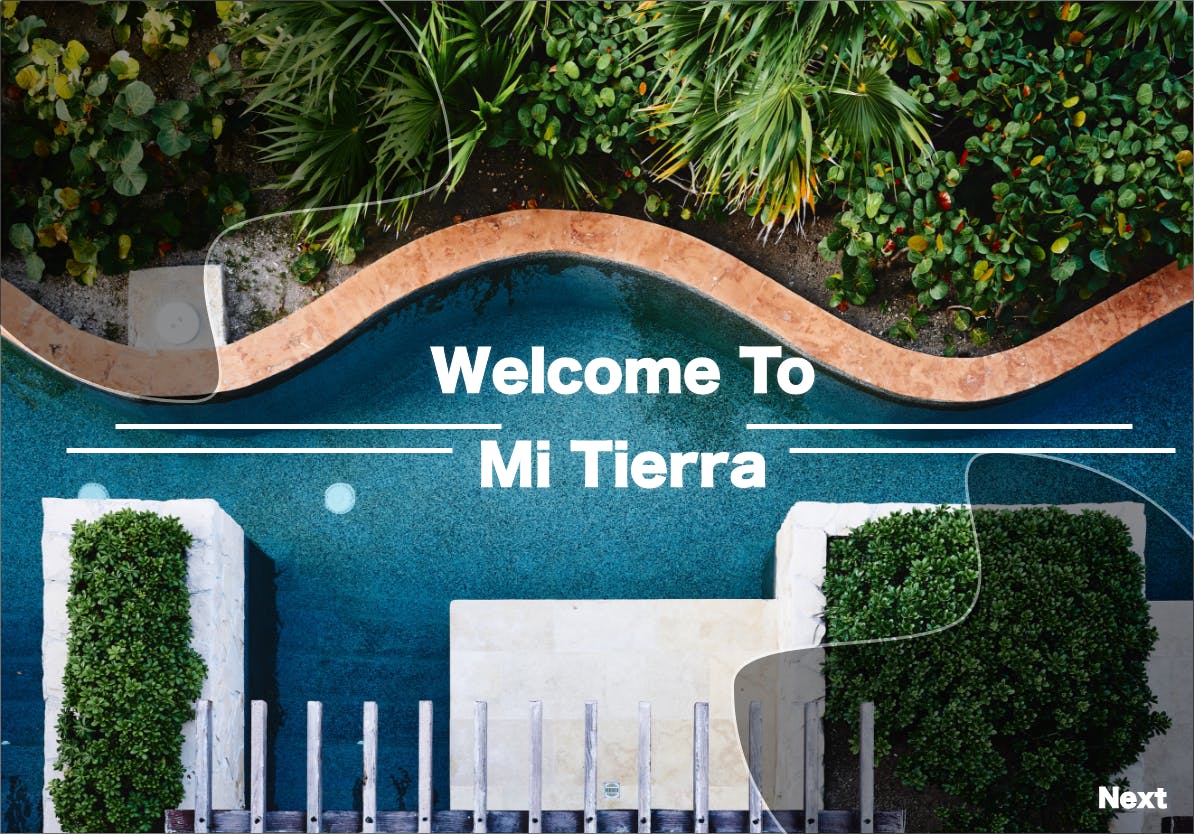
Main Page: This page was built with the idea of presenting the name of my project and some of the creativity that they will be able to see in the future. This main page is the basic concept of what I wanted to see if other people will get the same sense of this idea.
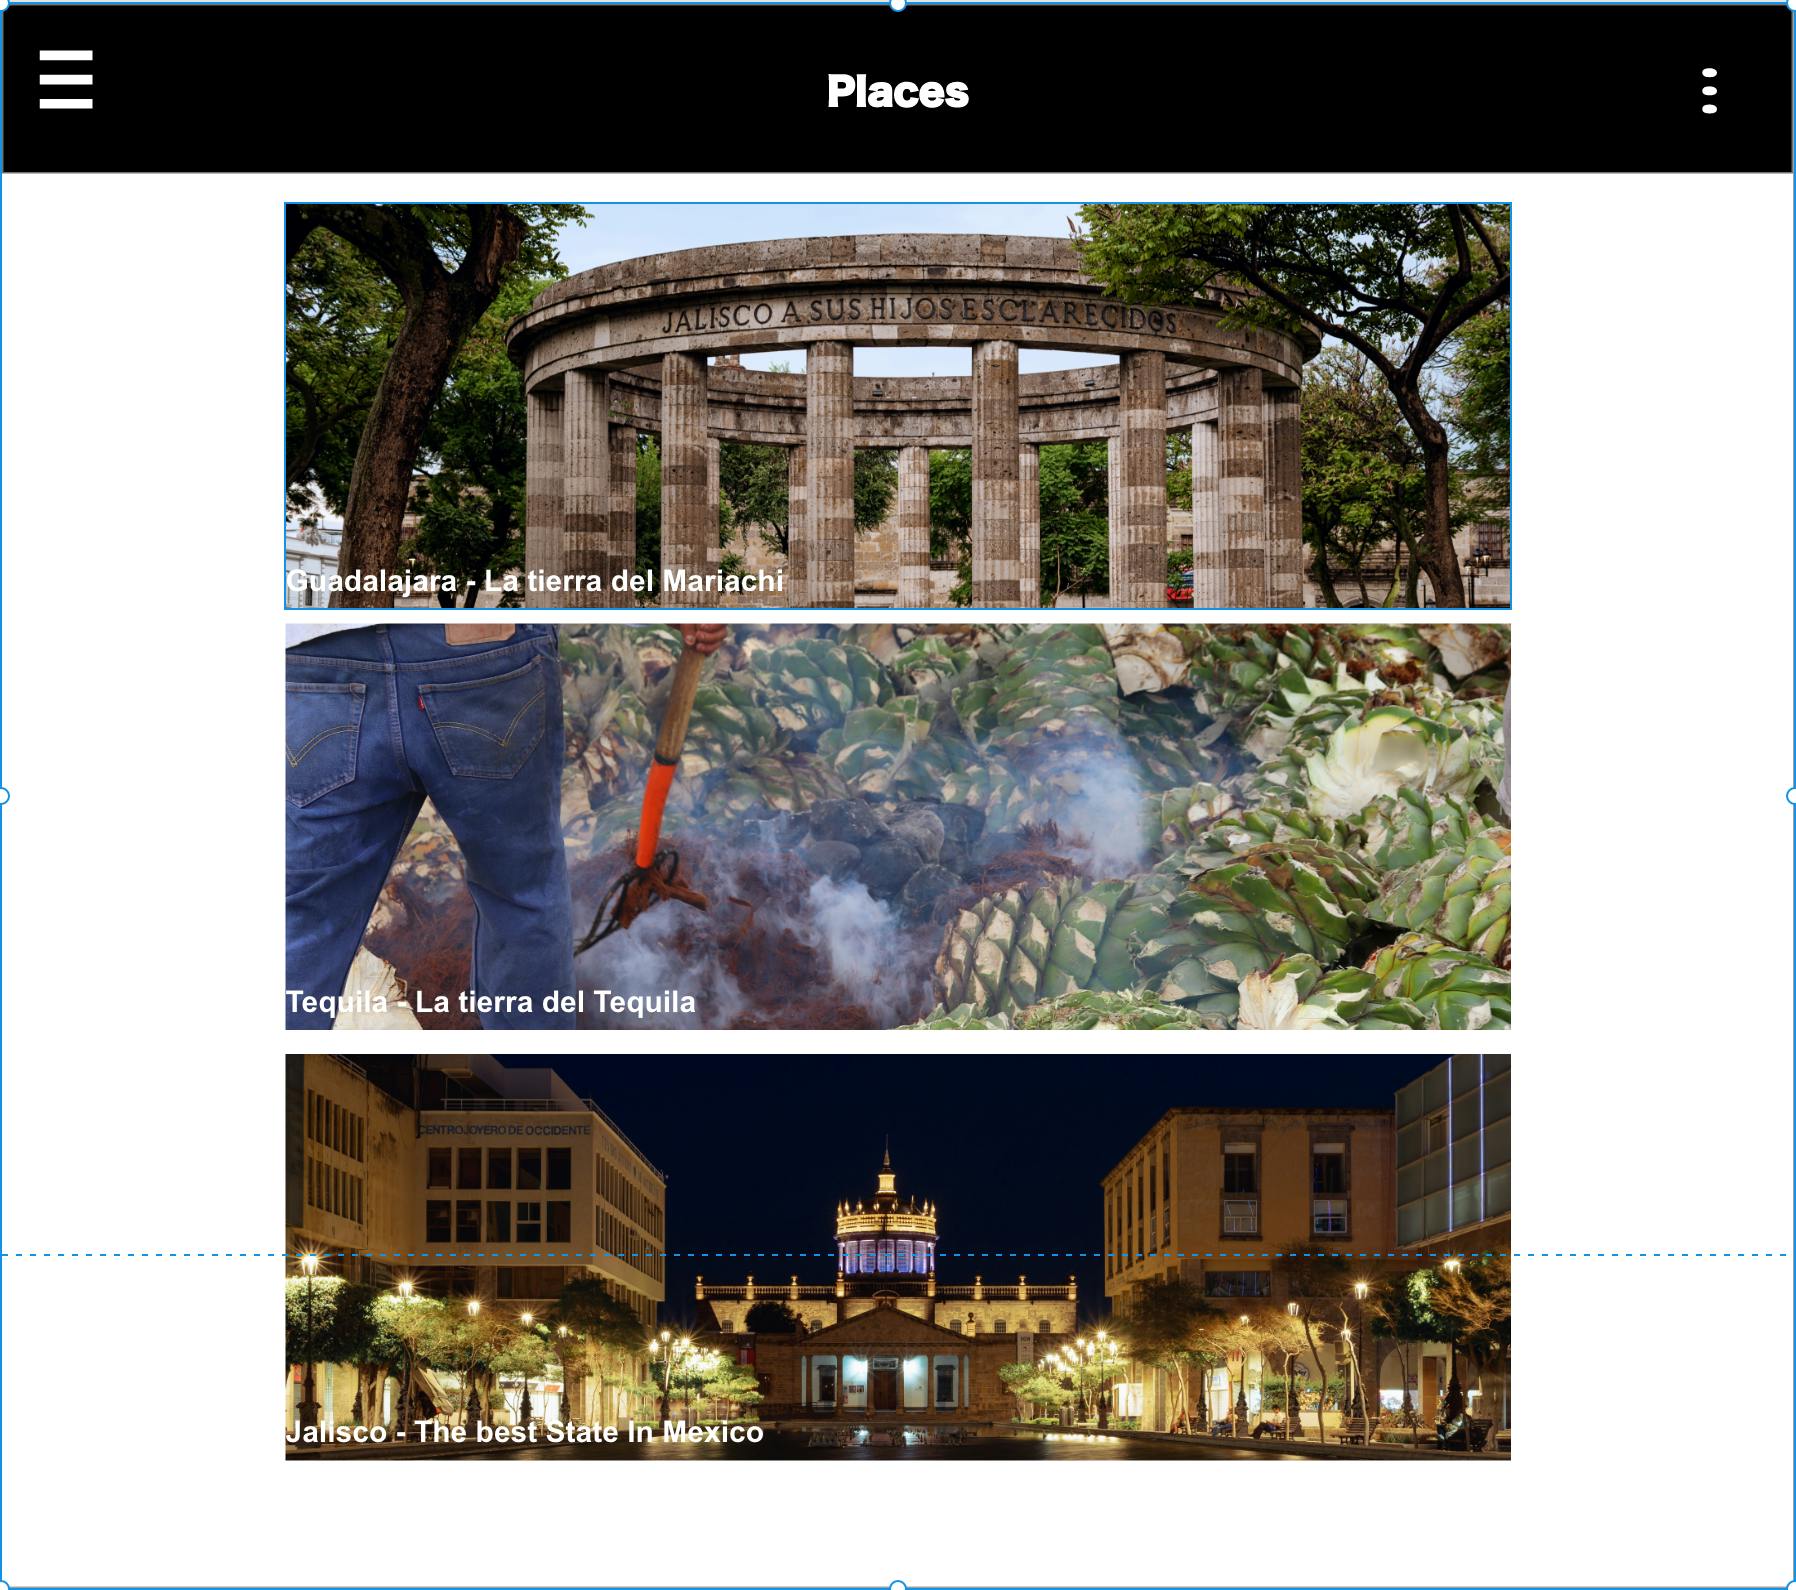
Places: This page has been build to show to people these three places to give my audience a little taste of what they will see. These three places are going to be the ones that I selected to talk about it.
History: The history page is one of the most important quality content since you will get an idea of why that country is beautiful. Also, you will learn a little bit about the history of three places at the same time where all these pictures are part of the most and best places in Jalisco, Tequila & Guadalajara.
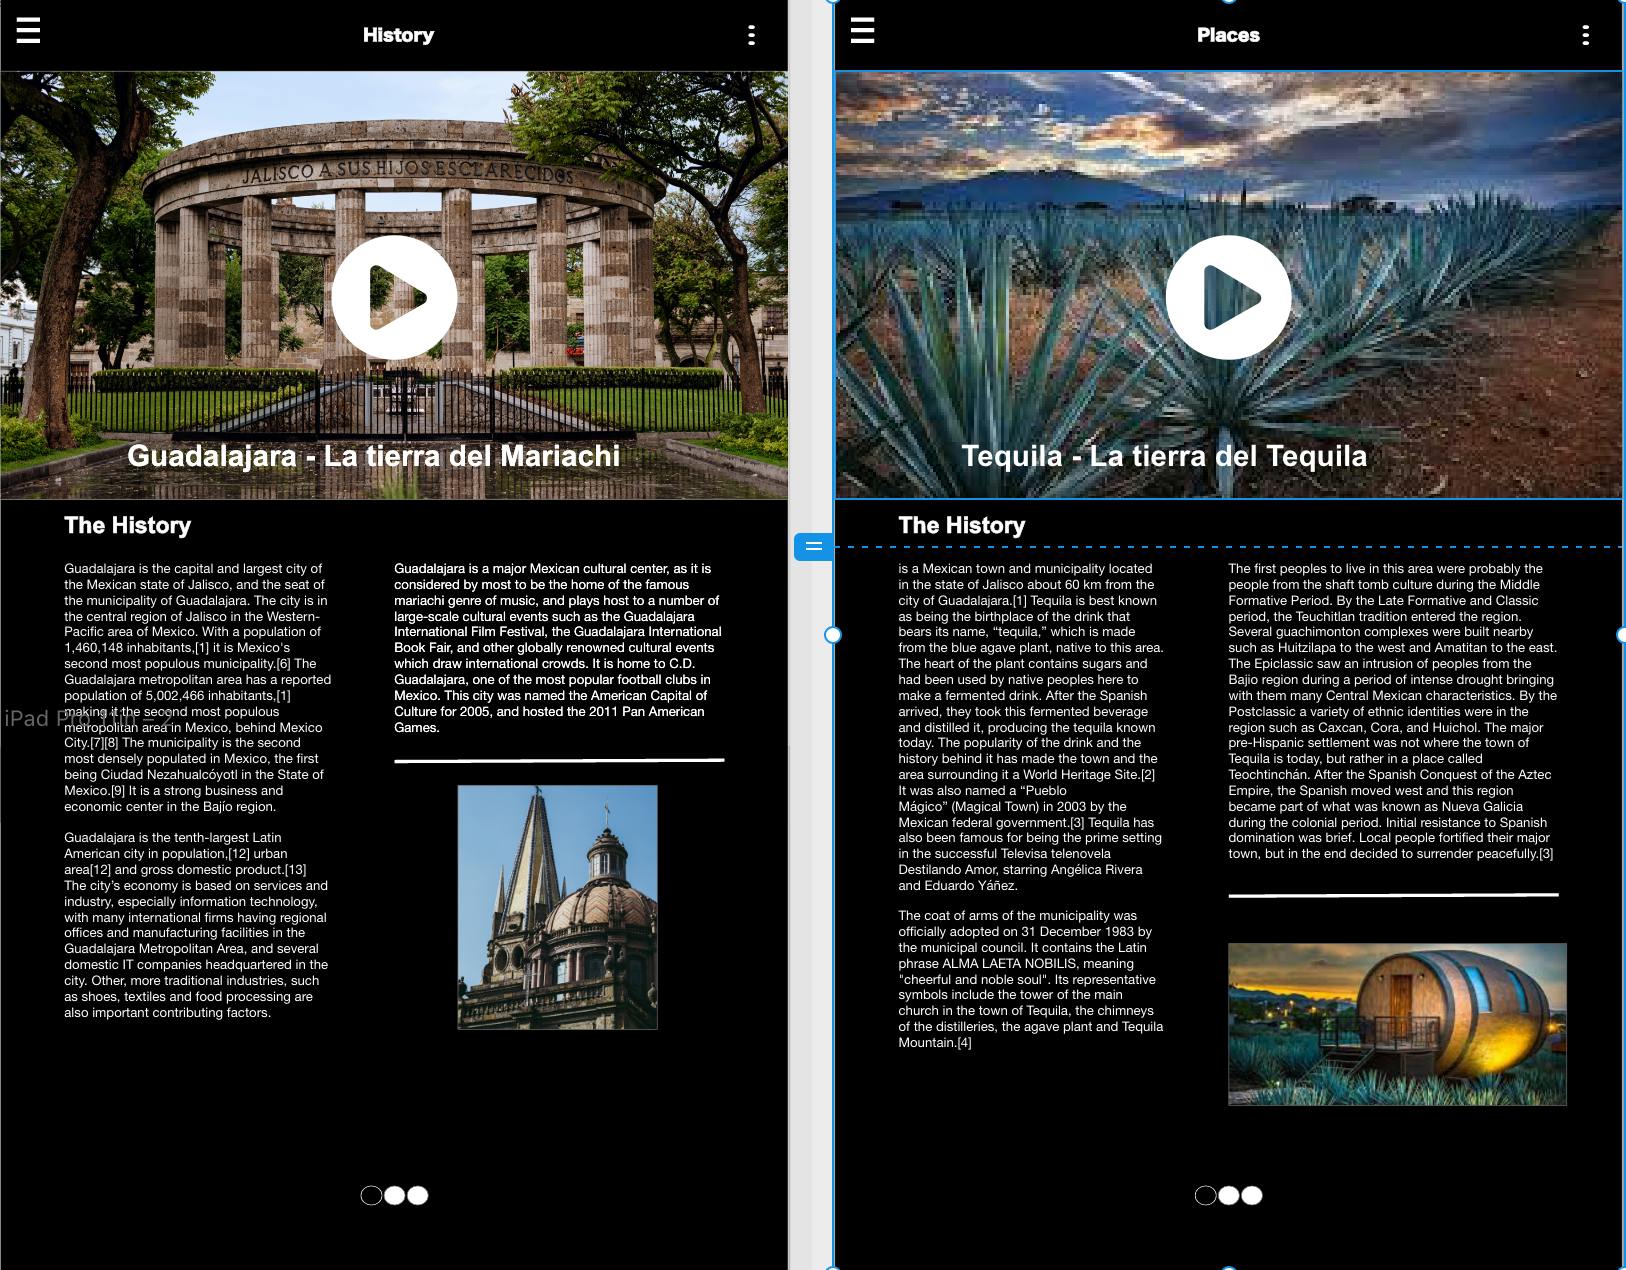
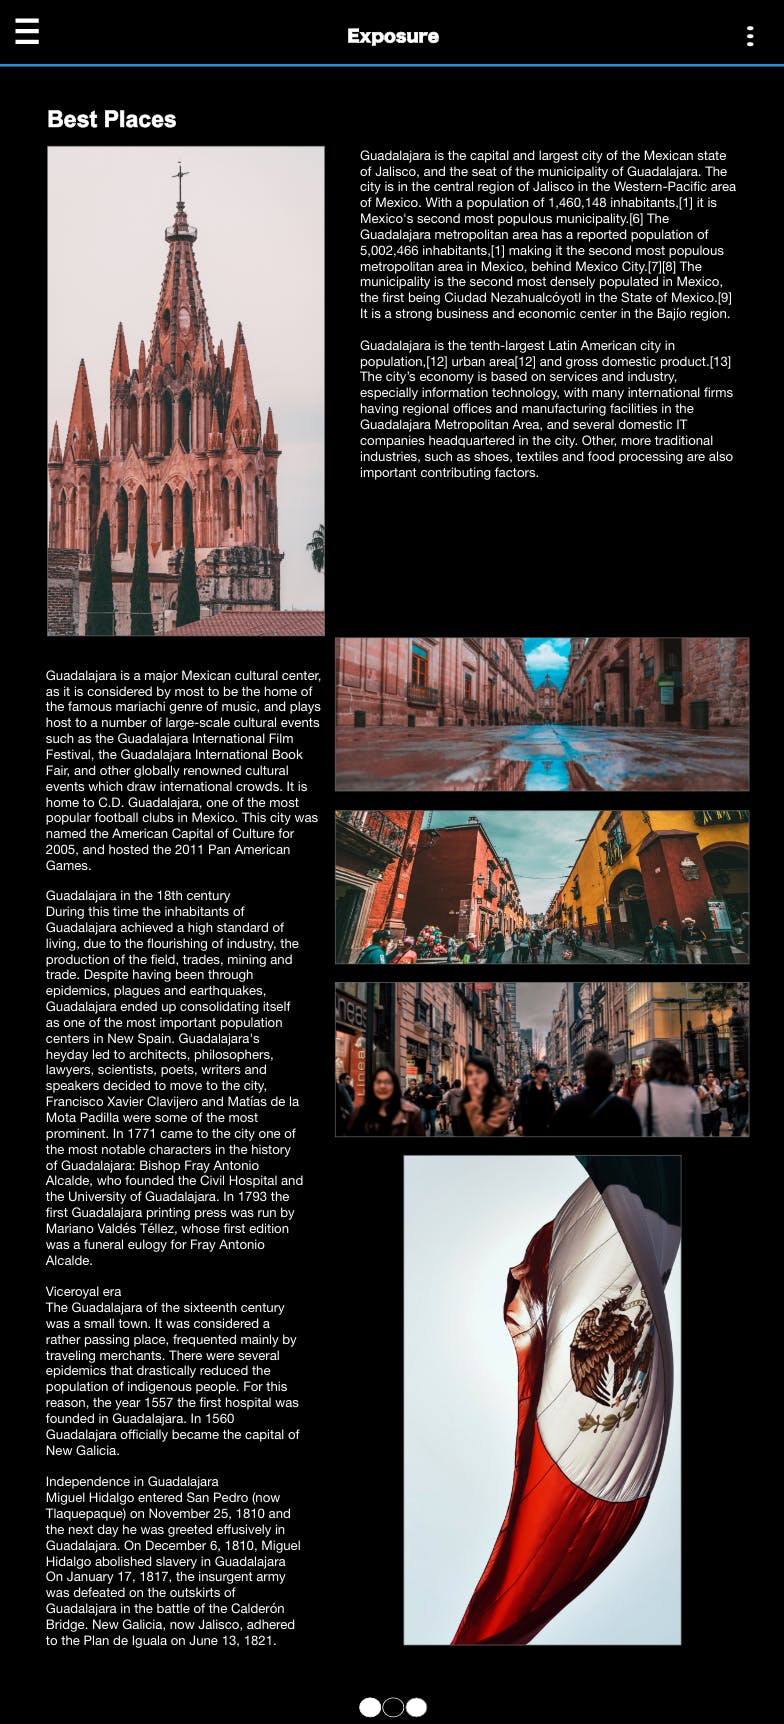
Exposure: Good quality of images will be here since this is the place where you will see that my design starts shining a little bit more since I’m paying a little bit of more attention to the message that I would like to send to my audience.
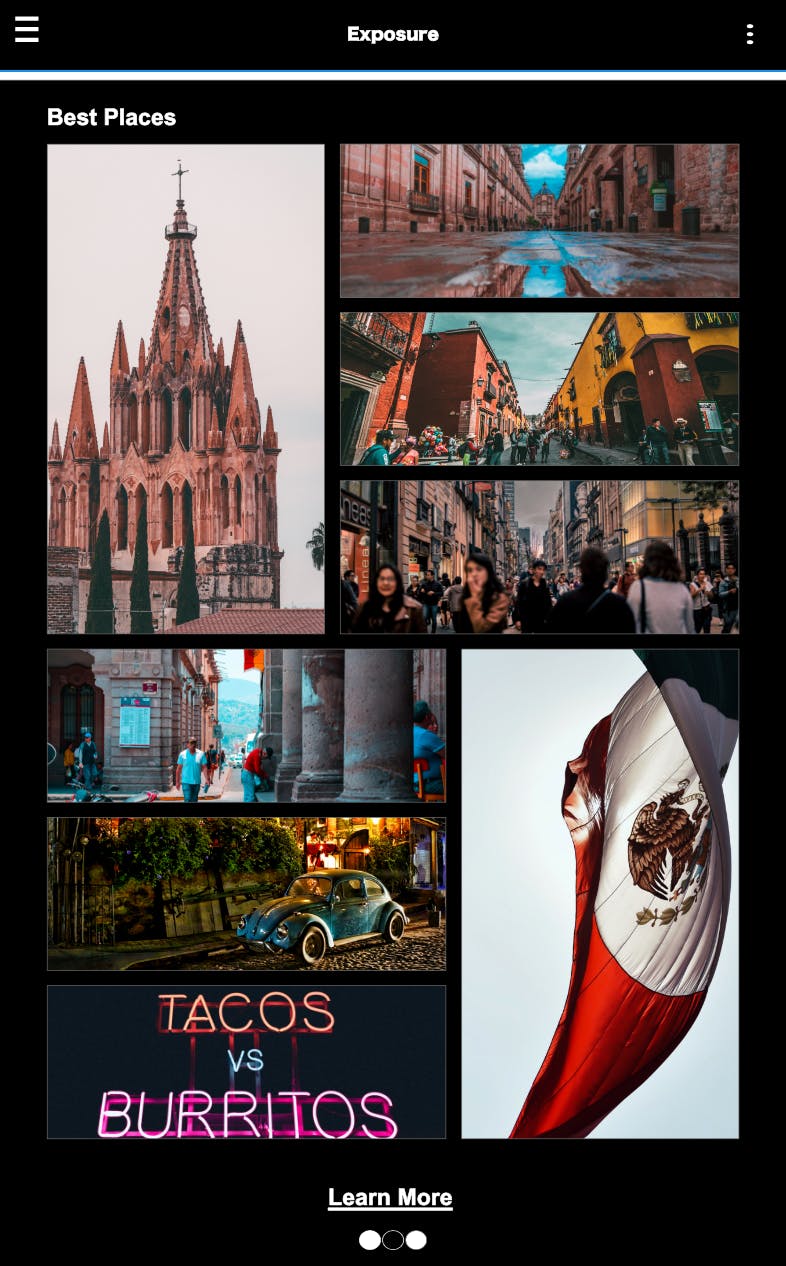
Exposure — Section 2: In this step, I’m producing a little bit of more content to make sure all types of audiences are going to be available to understand the design message and the history from these three places. For the same reason, I decided to create a creative transition between all the pictures from these places to make it a little bit fun for the end-user.
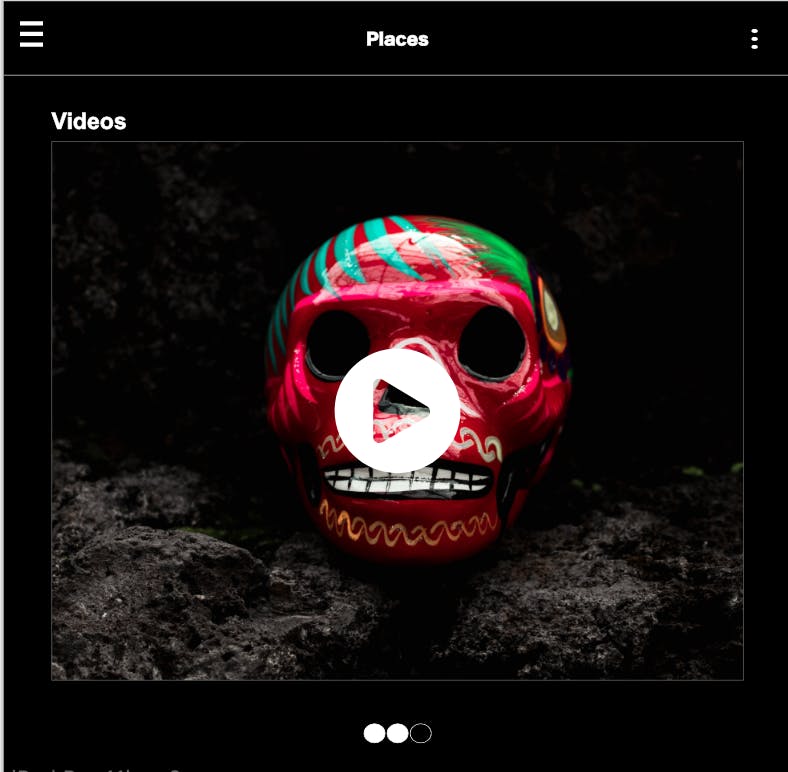
Places: To my visual audience, I have been built this page to grab a little bit more of your attention to make sure you will see the most intense good quality video in history to see if you are getting a better idea and concept from this project. In this case, I will know if the message or purpose of this task has completed the goal that I have a mind or not.
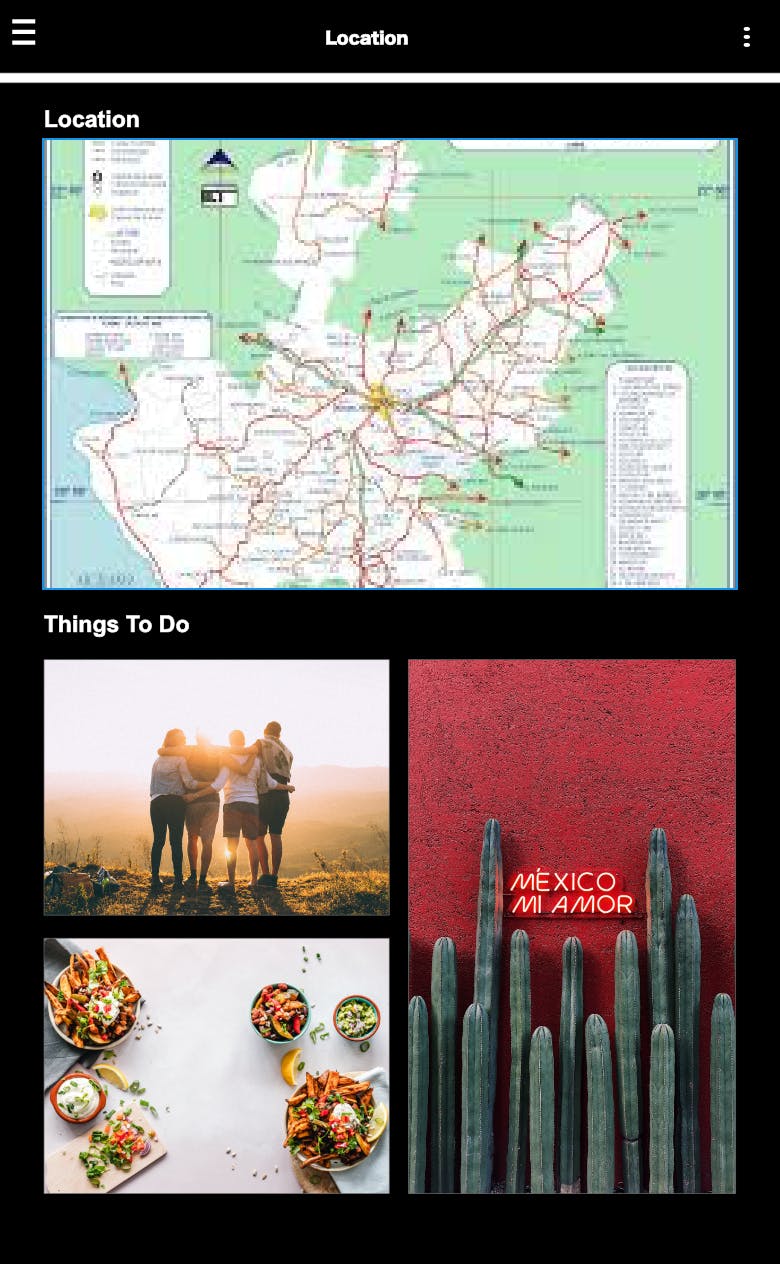
Location & Music: At the end of this project, I would like to say that I decided to build something more fun for the end-user since I would like to present the best places, popular Mexican food, the most popular music to make sure everyone knows about the traditions that Mexican people can have. Also, to give an idea to other people of what it's like living with another type of culture.
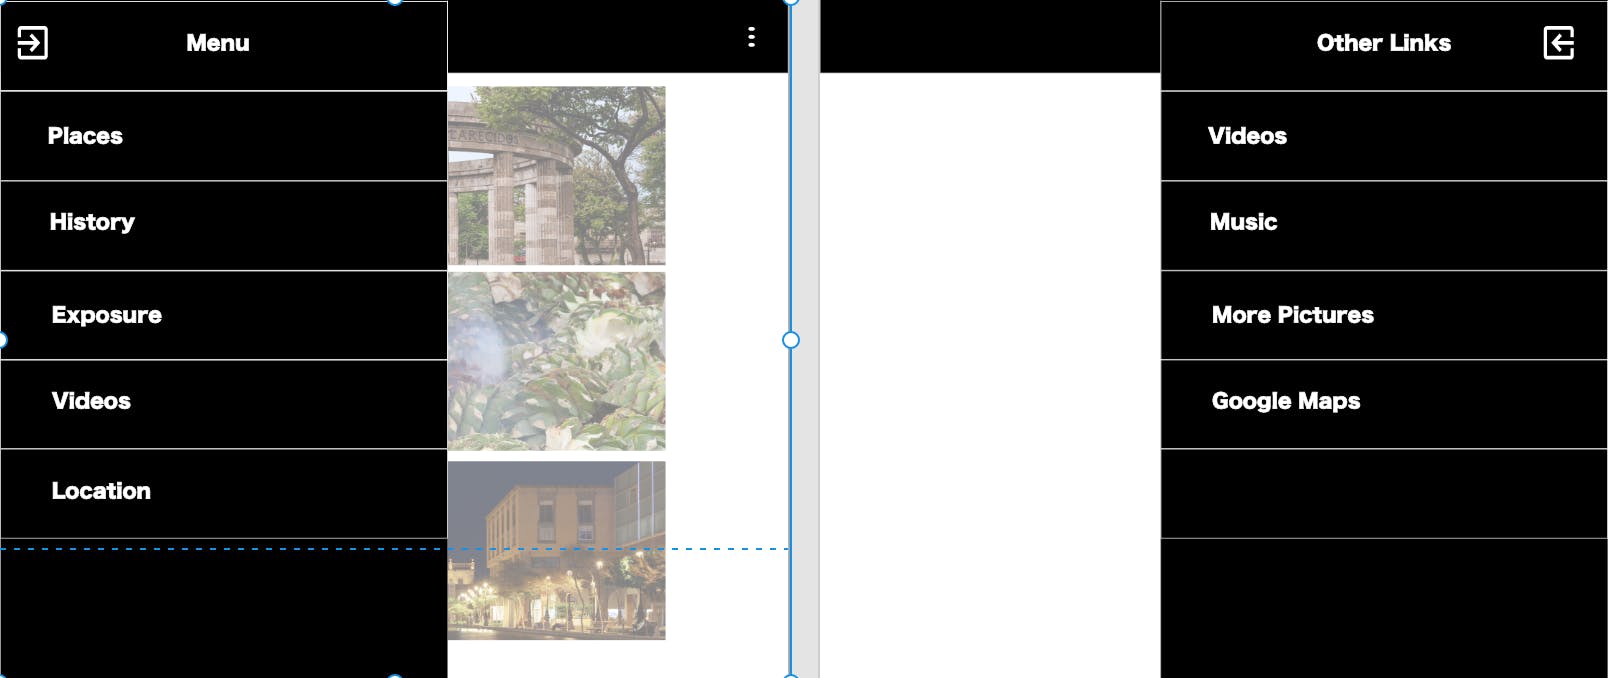
Of Course Menus: Every single project should have a table of contents or menus that will help the user to navigate inside of your application to make sure they understand how it works and how is designed it. Also, this part of this project was made to help other people that have some disabilities and that they possibly have some issues. In this case, we can say that this app has been built for everyone.
Conclusion
In my conclusion, I would like to say that being part of this project was fun and stressful since I like designing and I didn’t have a lot of knowledge of how to start building an app. However, I will say that I like to be a challenge all the time and that I like to learn new things every single day to make sure I will succeed in the future.
 on [Unsplash](https://unsplash.com?utm_source=medium&utm_medium=referral)](https://cdn-images-1.medium.com/max/6000/0*vxQP5XbOJi72nIqg)
If you have questions, you will need to email me at hvaandres@icloud.com. Please take a look at my website, repl, twitter, Github, Spanish Medium Account, and LinkedIn.

